API
Wave comes with an out-of-the-box API, which will allow you to provide an API to your users or build a mobile app from your API.
In this section we will go into more depth on how you can use the Wave API.
- Access API Data
- Access Token From API Key
- Access Token from Login
- Requesting Data from Tokens
- Testing Your API
- Registering via the API
Access Data from the API
In order to access data from the API a user or an application will need to pass an Access Token to the API. This access token will determine what kind of data can be accessed or returned.
There are 2 ways to get an Access Token:
- You can request an Access Token from an API key.
- You can request an Access Token with an email and password.
Get Access Token from an API Key
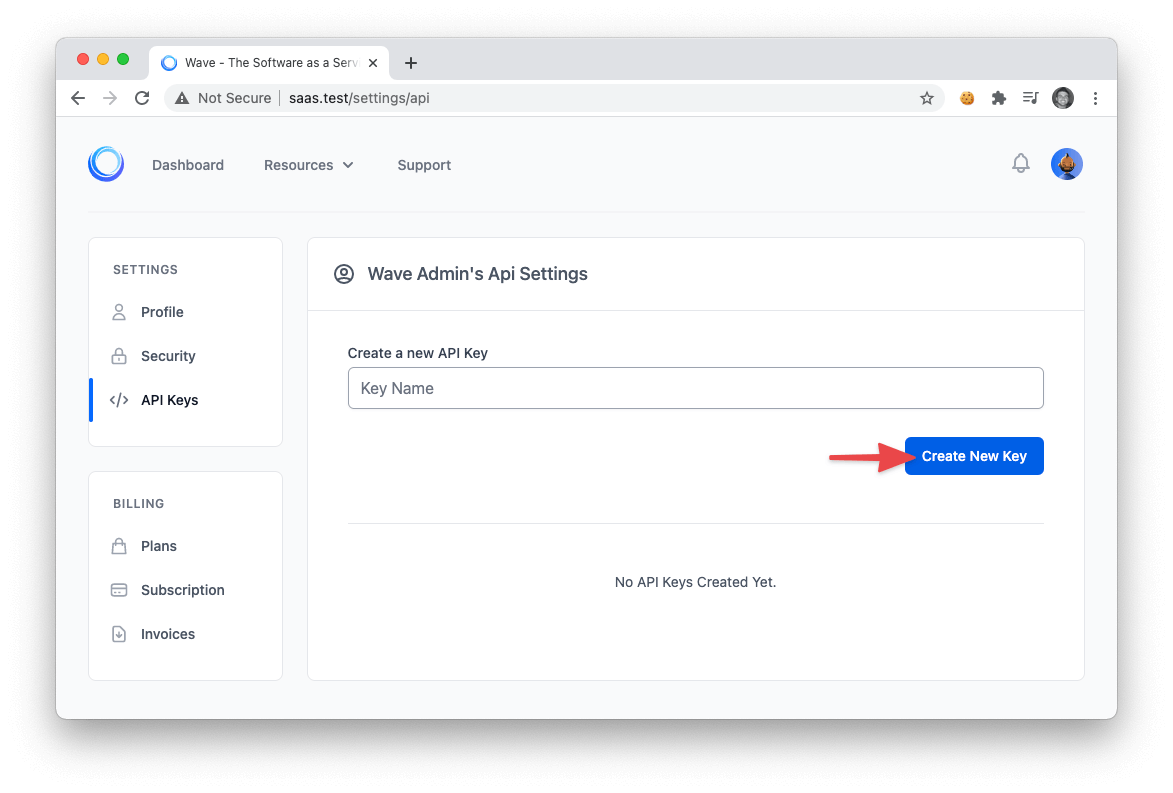
To create an API key you can visit your API settings page at: /settings/api, then to create a new API key, enter a name in the textbox and click on the Create New Key button.
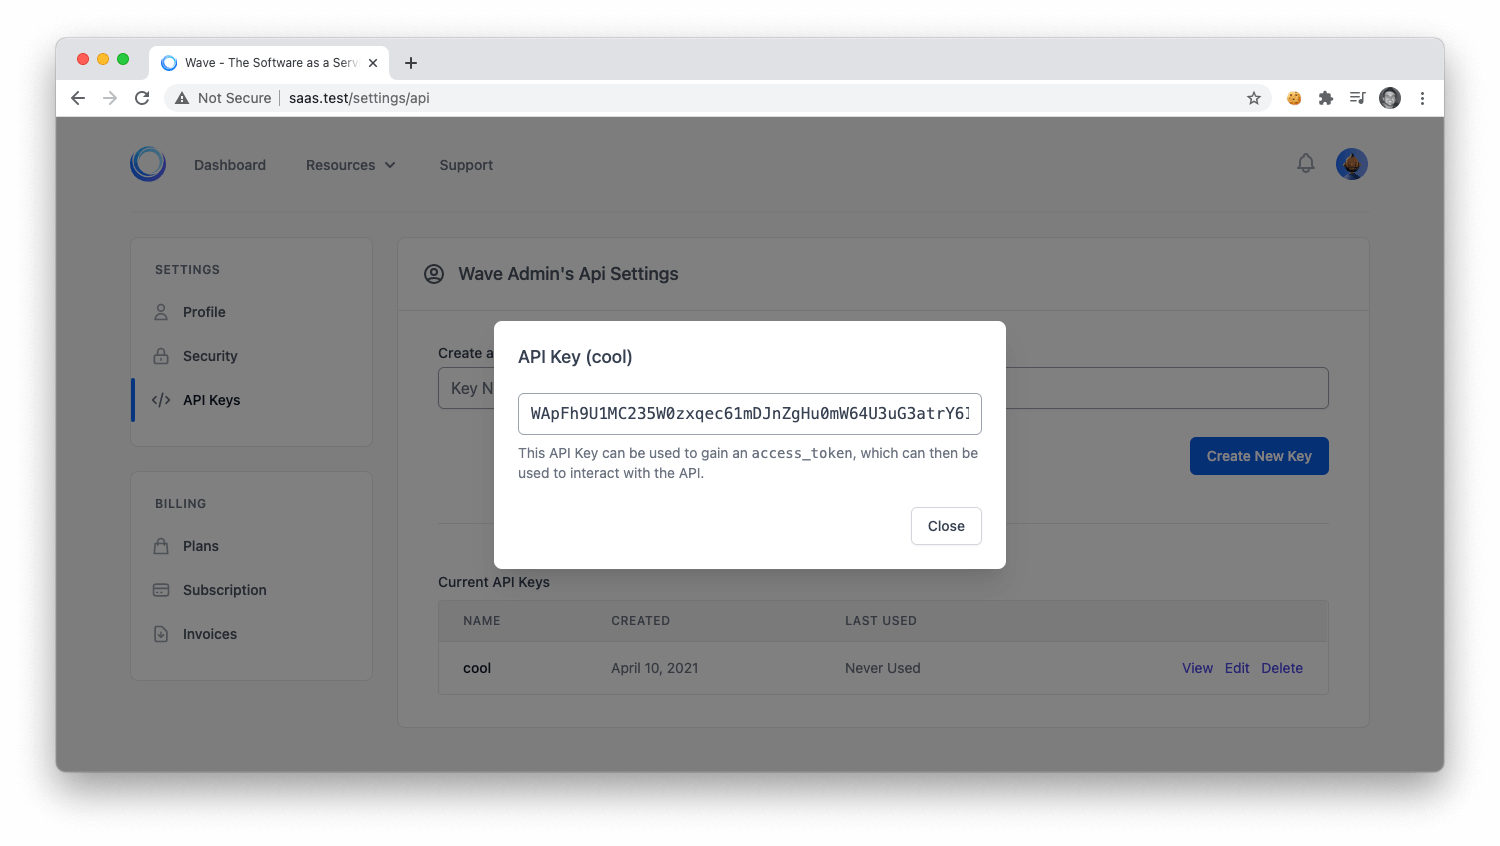
After creating your new API key you will see it in the list of Current API Keys. You'll be able to see the Name, Date Created, and the Last Used. There are also 3 actions you can do with this new API Key. To view the current API Key. Click on the View button:

And you will see the current API key where you can copy and paste it to be used.
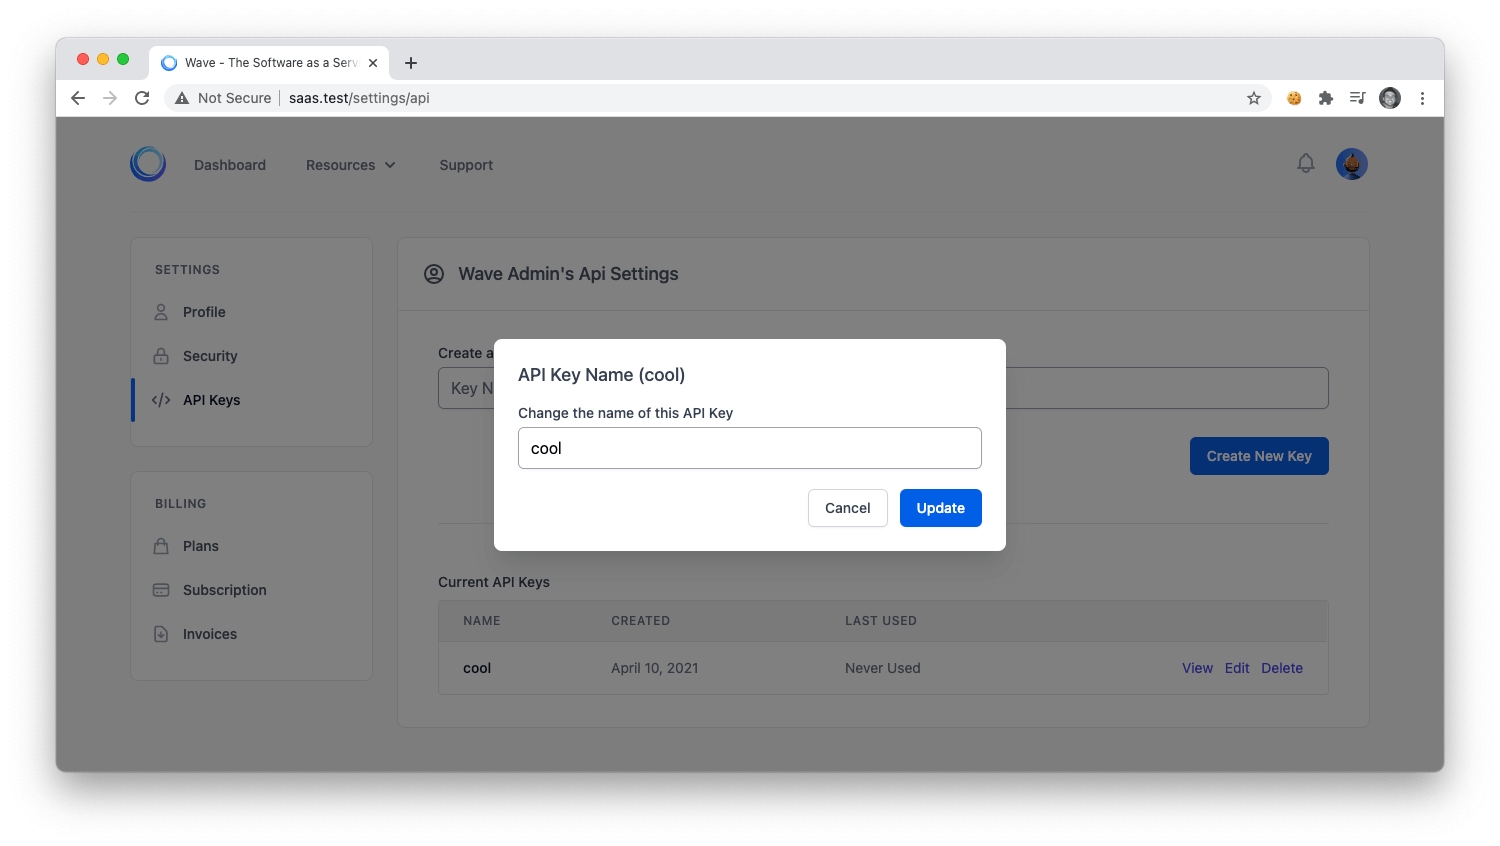
Next, you can click on the Edit button:

Where you will be able to edit the current API key name.
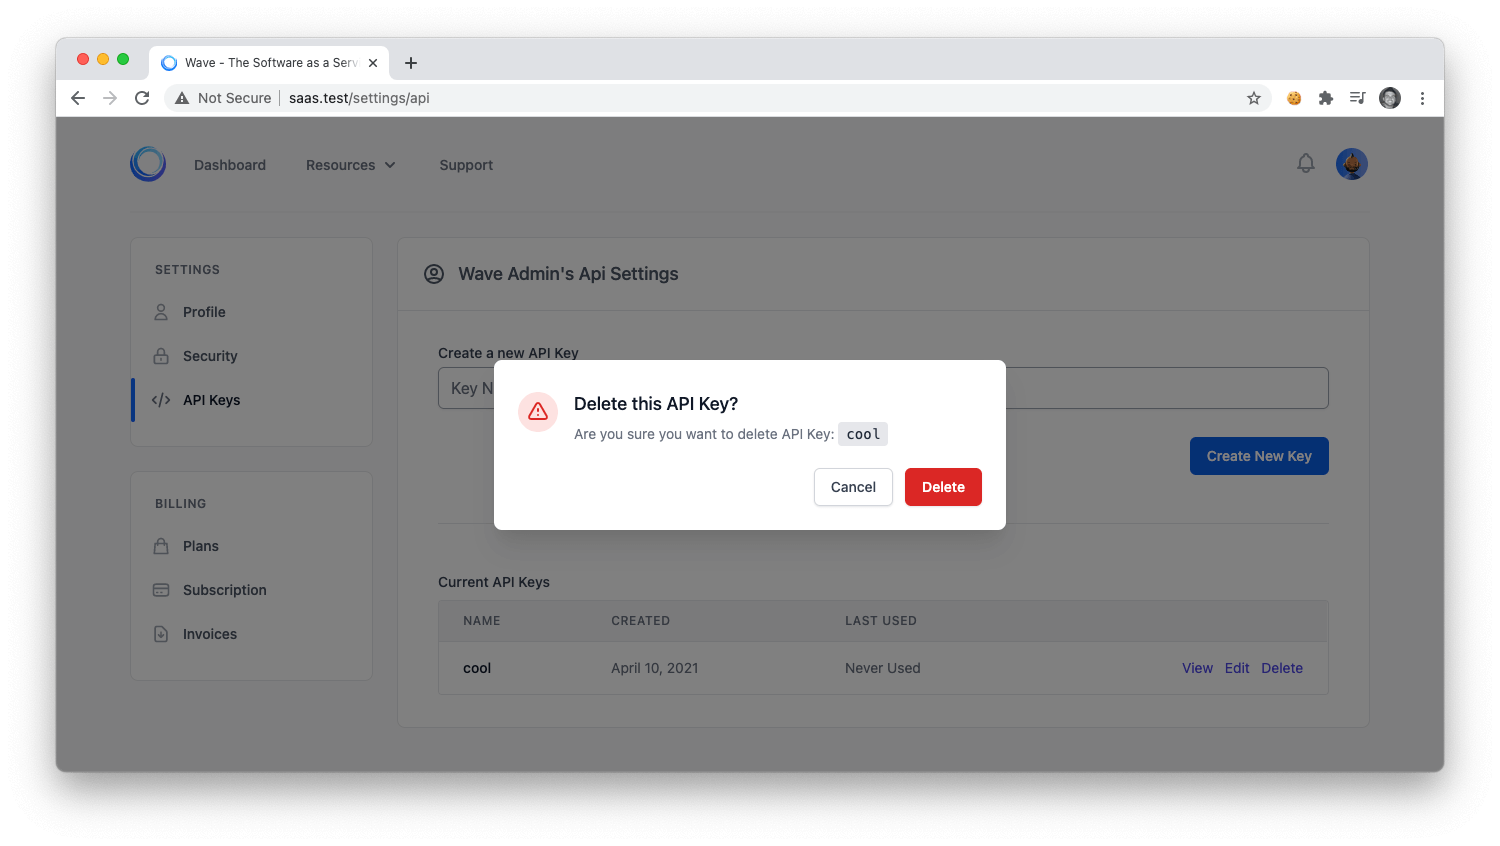
Lastly, if you click on the delete button:

You will be able to delete the current API key.
Next, let's move on to learning how you can use this API key to request an Access Token from the API. After we recieve the Access Token we can then use that to retrieve data from our application.
To request an Access Token we can submit a POST request to:
/api/token?key=API_KEY_HERE
And you will get a response that looks similar to the following:
{
    "access_token": "eyJ0eXAiOiJKV1QiLCJhbGciOiJIUzI1NiJ9.eyJpc3MiOiJodHRwOlwvXC93YXZlLnRlc3RcL2FwaVwvdG9rZW4iLCJpYXQiOjE1Mzk4MDg4OTUsImV4cCI6MTUzOTgxMjQ5NSwibmJmIjoxNTM5ODA4ODk1LCJqdGkiOiJRdTViYnhwdlBkNE9tT3ZZIiwic3ViIjoyLCJwcnYiOiI4N2UwYWYxZWY5ZmQxNTgxMmZkZWM5NzE1M2ExNGUwYjA0NzU0NmFhIn0.AJNTXTlnI74ZyPw2rqvEaI7P5YPaLnZNWcCBBmRX0W0"
}
This is the Access Token we will use to retrieve data in our application. We'll show you how to use this Access Token in the next few steps.
Get Access Token from Login
To get an Access Token from a User Login you can do a POST request to:
/api/[email protected]&password=password
And you will get a similar response to the response above:
{
    "access_token": "eyJ0eXAiOiJKV1QiLCJhbGciOiJIUzI1NiJ9.eyJpc3MiOiJodHRwOlwvXC93YXZlLnRlc3RcL2FwaVwvbG9naW4iLCJpYXQiOjE1Mzk4MTE0NjUsImV4cCI6MTUzOTgxNTA2NSwibmJmIjoxNTM5ODExNDY1LCJqdGkiOiJKRWljOGdTWFp4S0VjaWh1Iiwic3ViIjoxLCJwcnYiOiI4N2UwYWYxZWY5ZmQxNTgxMmZkZWM5NzE1M2ExNGUwYjA0NzU0NmFhIn0._1oFRK-zeUKMpvCcg8kmM86avzzmI--yQnI4KRwYk1k",
    "token_type": "bearer",
    "expires_in": 60
}
You'll see that this response includes 2 more fields the token_type and the expires_in. When your application detects the access token has expired it will need request a new access token with the following API request:
| METHOD | URI | Bearer TOKEN |
|---|---|---|
| POST | /api/refresh |
Bearer: eyJ0e... |
And you will recieve a new Access Token for your application to be used. This expiration and refresh tokens are common for keeping your API secure.
Request Data with an Access Token
Now, that you have an Access Token you can request data from the application using that token. Based on the permission of the current user they will be able to Browse, Read, Edit, Add, and Delete any content in your application.
Take the blog posts for instance, a user can retrieve data using the following restful routes:
| TYPE | METHOD | URI | Bearer TOKEN |
|---|---|---|---|
| JSON | GET (Browse) | /api/posts |
Bearer: eyJ0e... |
| JSON | GET (Read) | /api/posts/{id} |
Bearer: eyJ0e... |
| JSON | PUT (Edit) | /api/posts/{id} |
Bearer: eyJ0e... |
| JSON | POST (Add) | /api/posts |
Bearer: eyJ0e... |
| JSON | DELETE (Delete) | /api/posts |
Bearer: eyJ0e... |
In the PUT and POST methods above you can pass JSON data to Edit or Add content.
Testing Your API
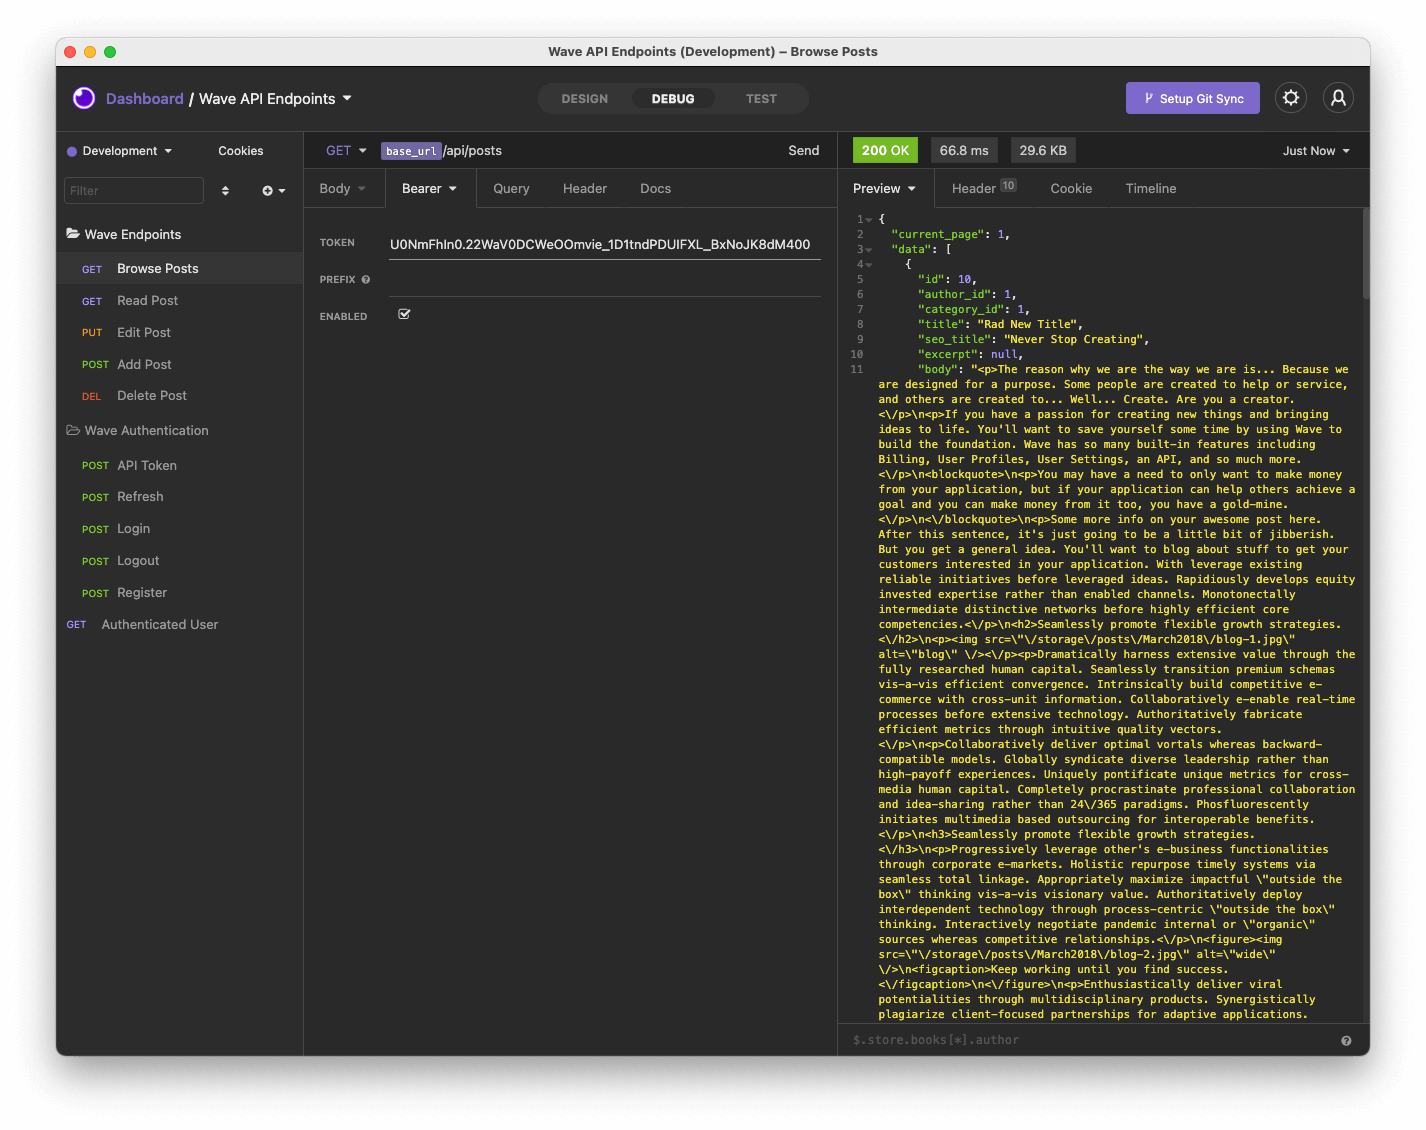
You can test out your application by using a third-party tool called Insomnia, this is a free app that you can download and you can view all the endpoints on the left and the API data on the right.
In order to download the End Points for the Wave application you can find this file located here: https://github.com/thedevdojo/laravel-wave-api-endpoints, this page also shows instructions on how to import the current endpoints.
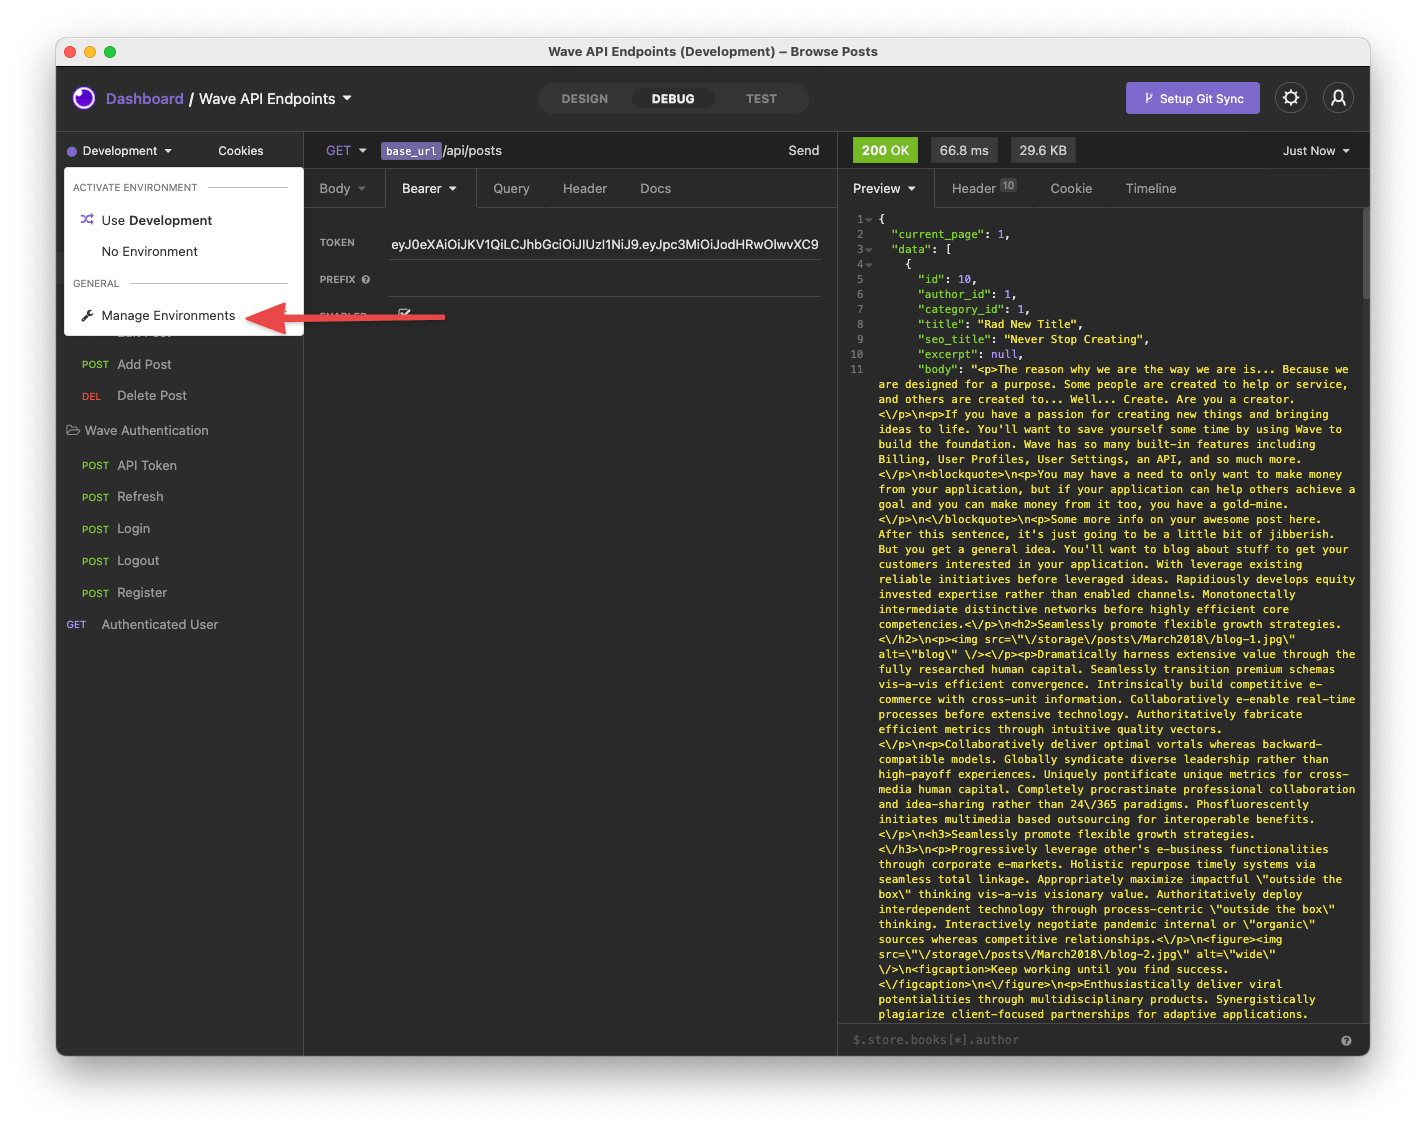
After you have imported the API endpoints, you may also wish to change the BASE_URL variable in the application. We use https://wave.test for testing, but your local URL may be different. To do this, you'll need to click on Development->Manage Environments
Then, you'll need to change the base_url value to your application URL.
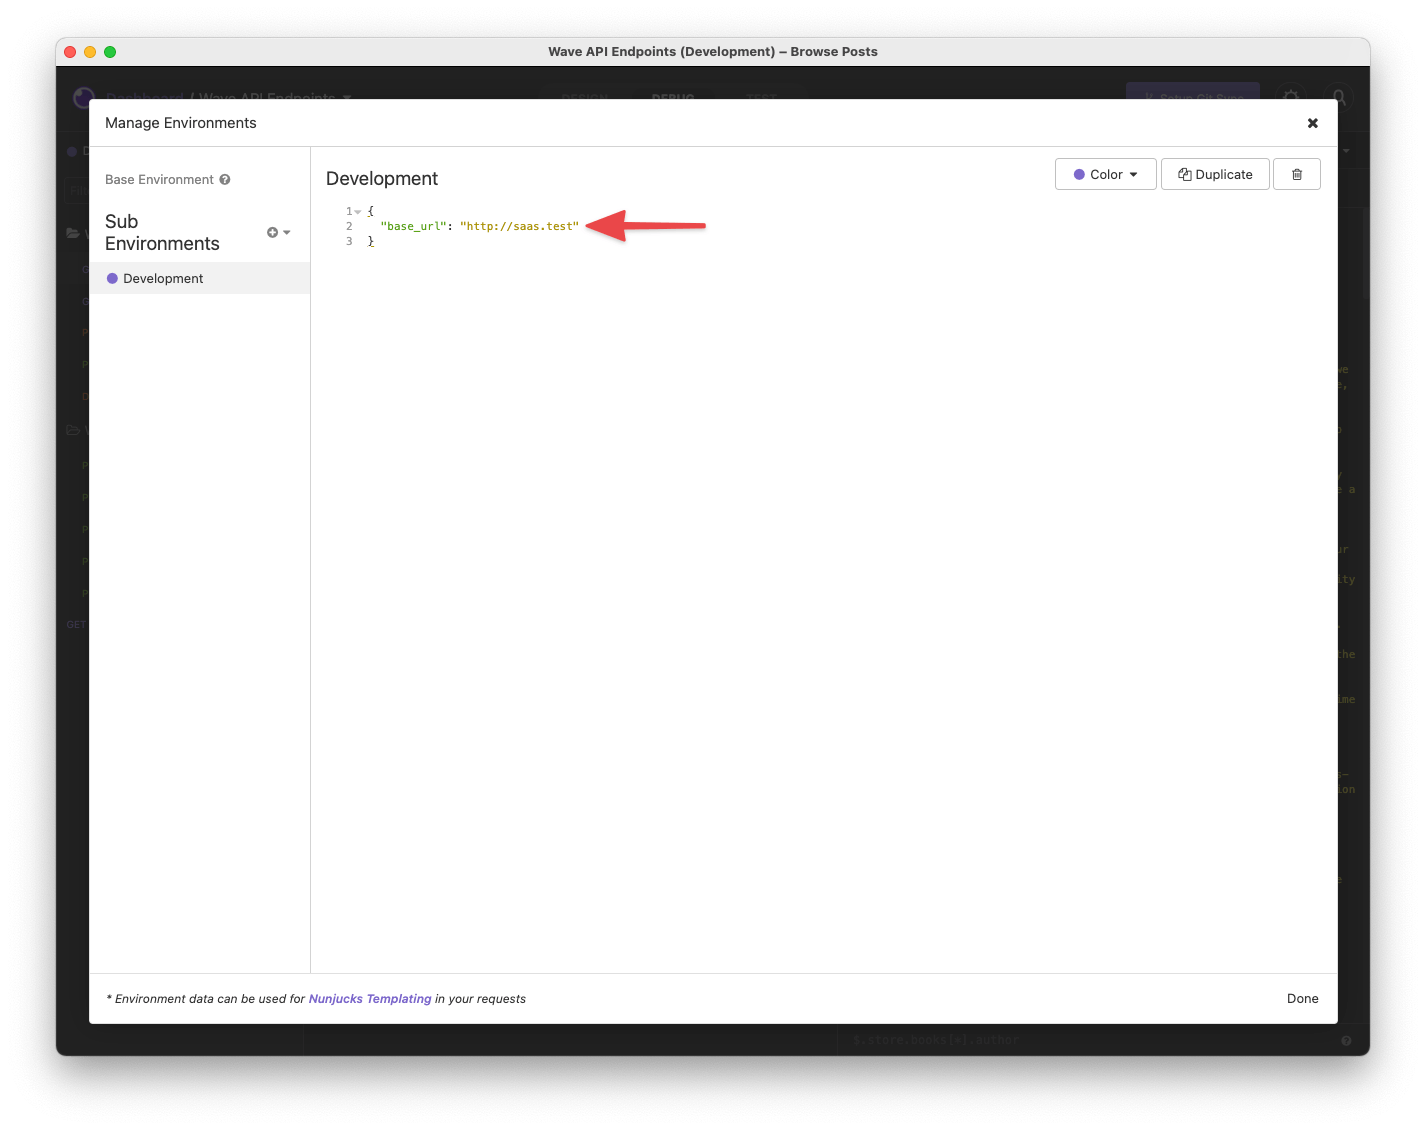
And, now you're ready to test out your API.
Registering via the API
If you are creating an API, you may also wish to allow your users to register. This is simple as well. You can perform a POST request to:
/api/register?name=John Doe&username=jdoe&[email protected]&password=pass
And a new user will be registered and given an Access Token to access data via your API.