User Roles
Each user in your app will have a primary role and every role has permissions to allow or deny access to content. In this section we will talk about User Roles and how to utilize roles in your application.
This functionality is also documented in Voyager; although, it’s important to re-cap the functionality since it ties directly with a Subscription Plan.
If you are unfamiliar with Voyager, I would recommend checking out the documentation at https://voyager-docs.devdojo.com/
🍞 The BREAD System
Wave uses the BREAD (browse, read, edit, add, and delete) system as opposed to the CRUD (create, read, update, and delete) system.
By using the BREAD system we can specify what type of permissions the User Role has in relation to any content on your site. The user role can have permissions to either Browse, Read, Edit, Add, or Delete any data on your website.
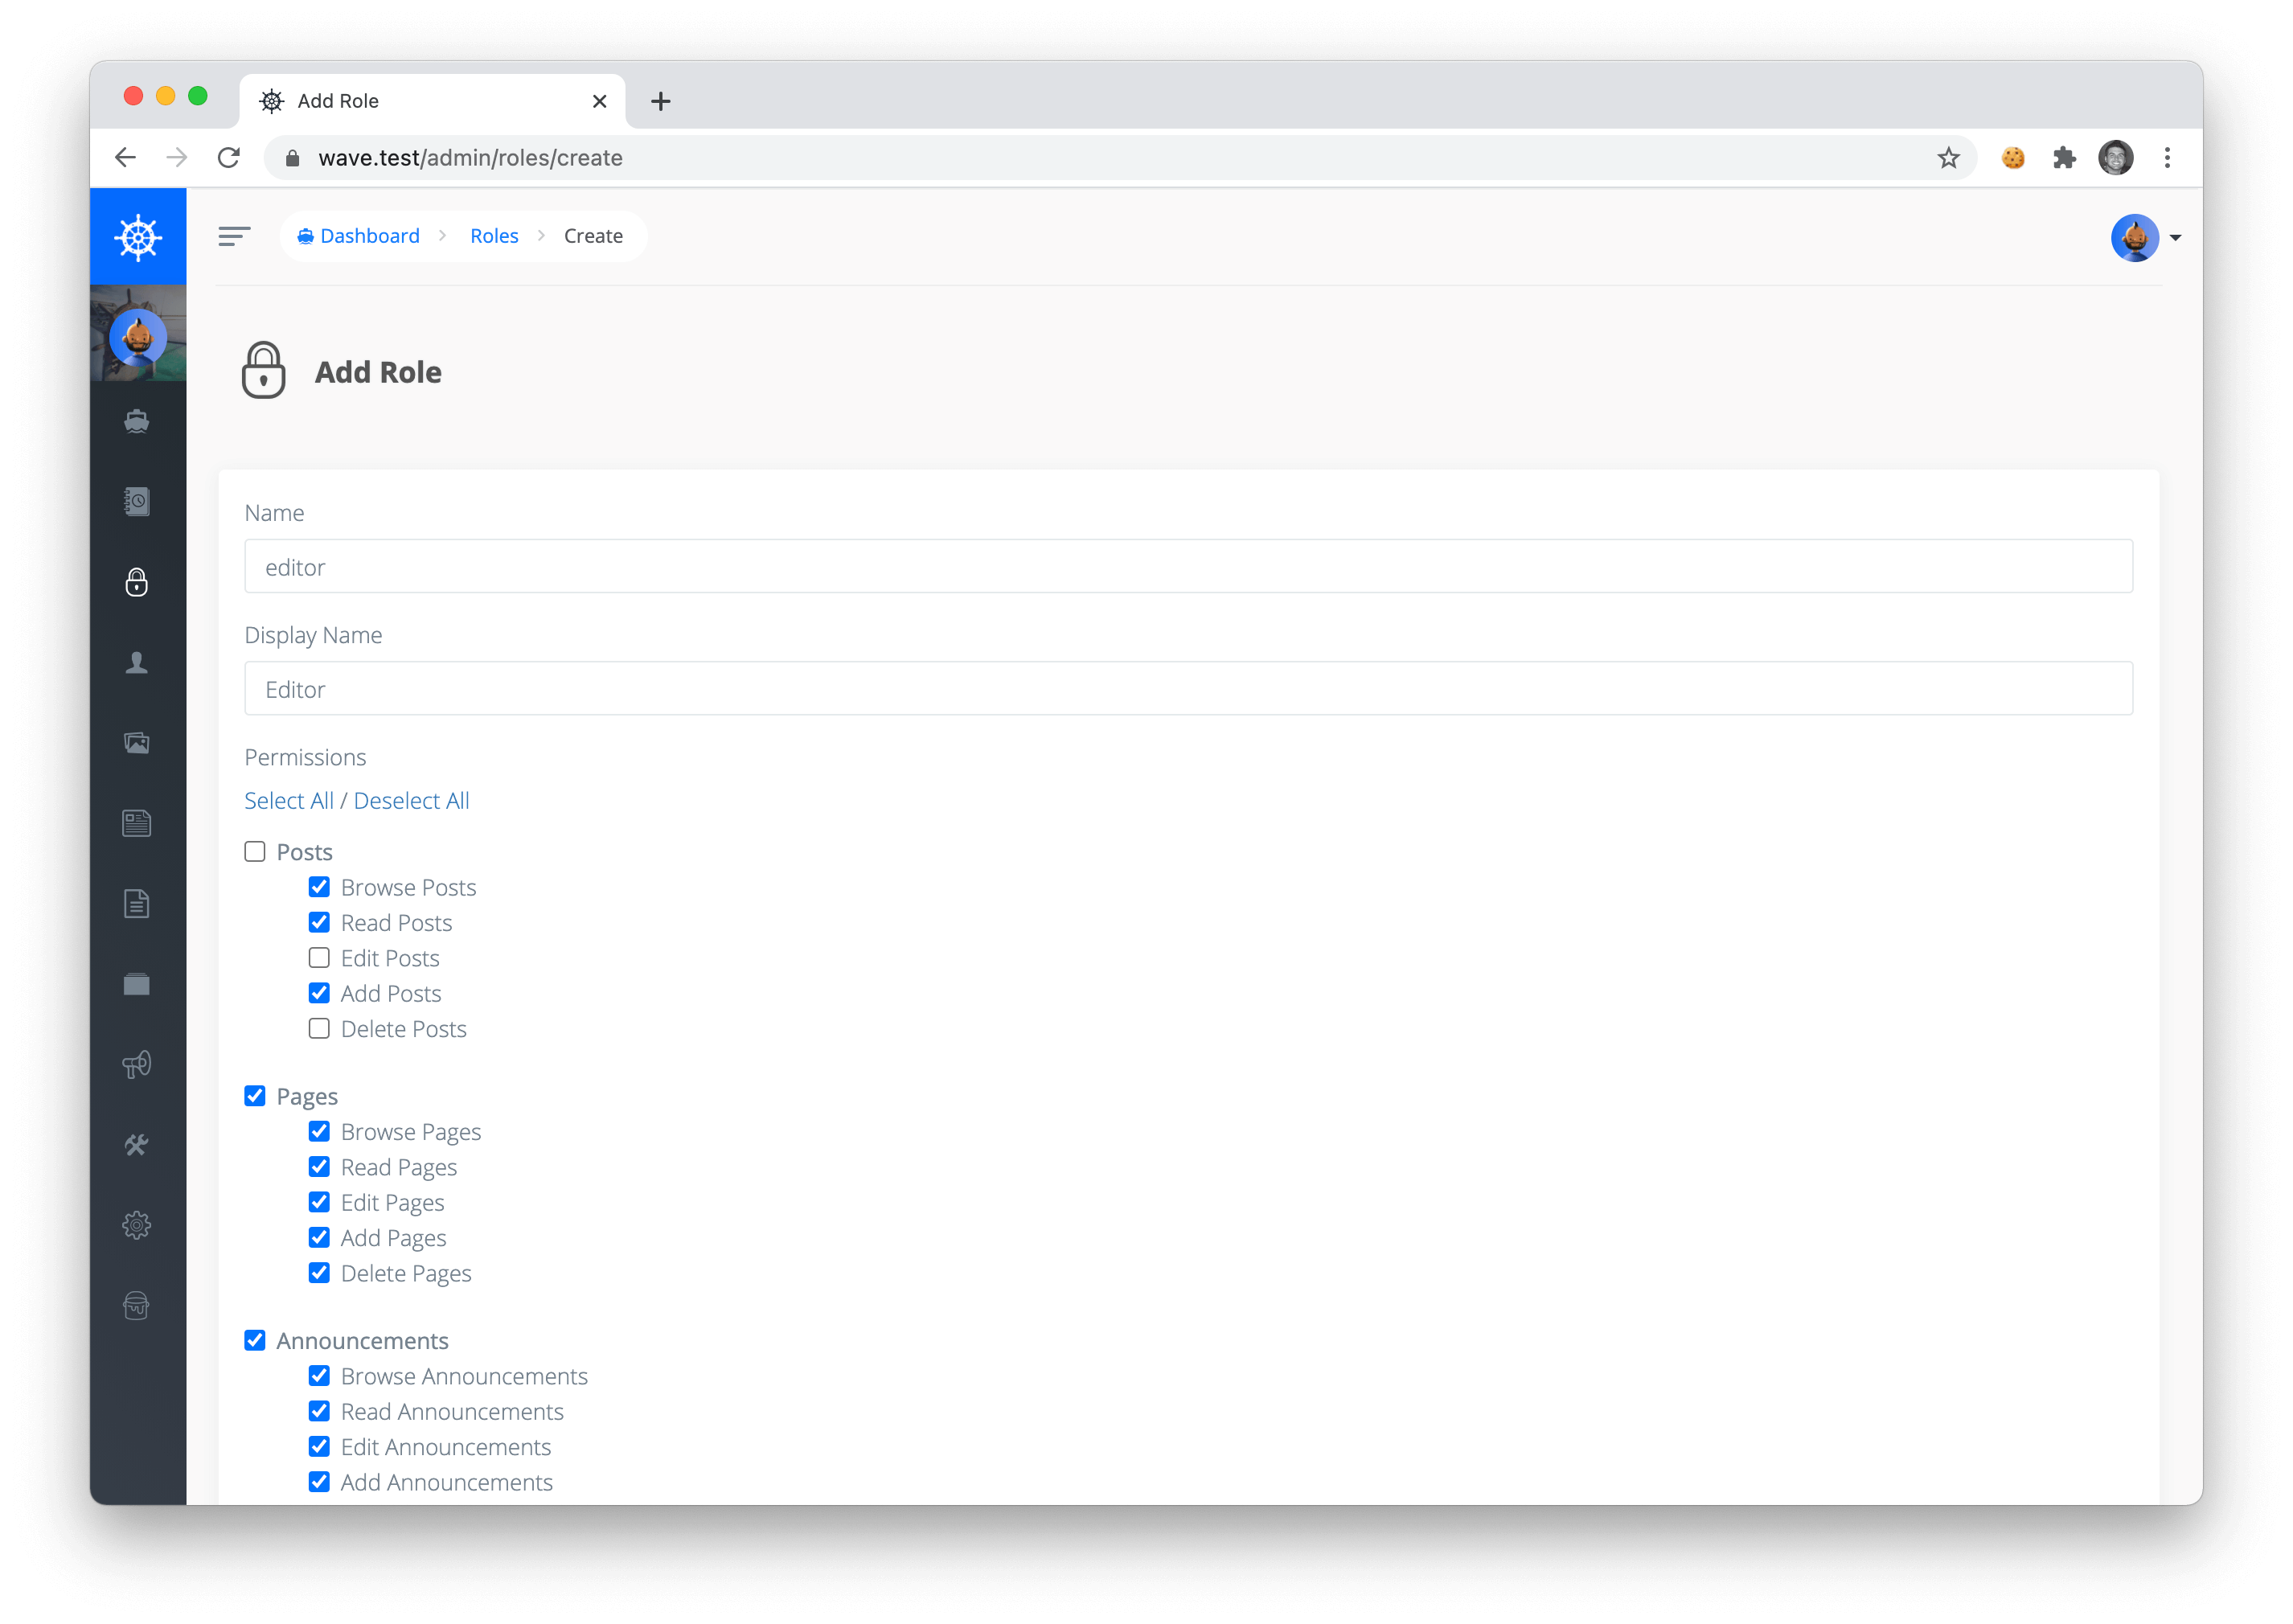
Here's a quick example: If we were to create a new role called editor and then assign the editor permissions to Browse, Read, and Add Posts, they will only have permission to those particular actions. Meaning that user can only Browse posts, Read posts, and Add posts. The user will not have permissions to Edit or Delete posts. Pretty straight forward, right?
Since each Subscription Plan is associated with a Role. We can say that each plan has a specific set of permissions to Browse, Read, Edit, Add, or Delete content within your application.
Adding Roles & Permissions
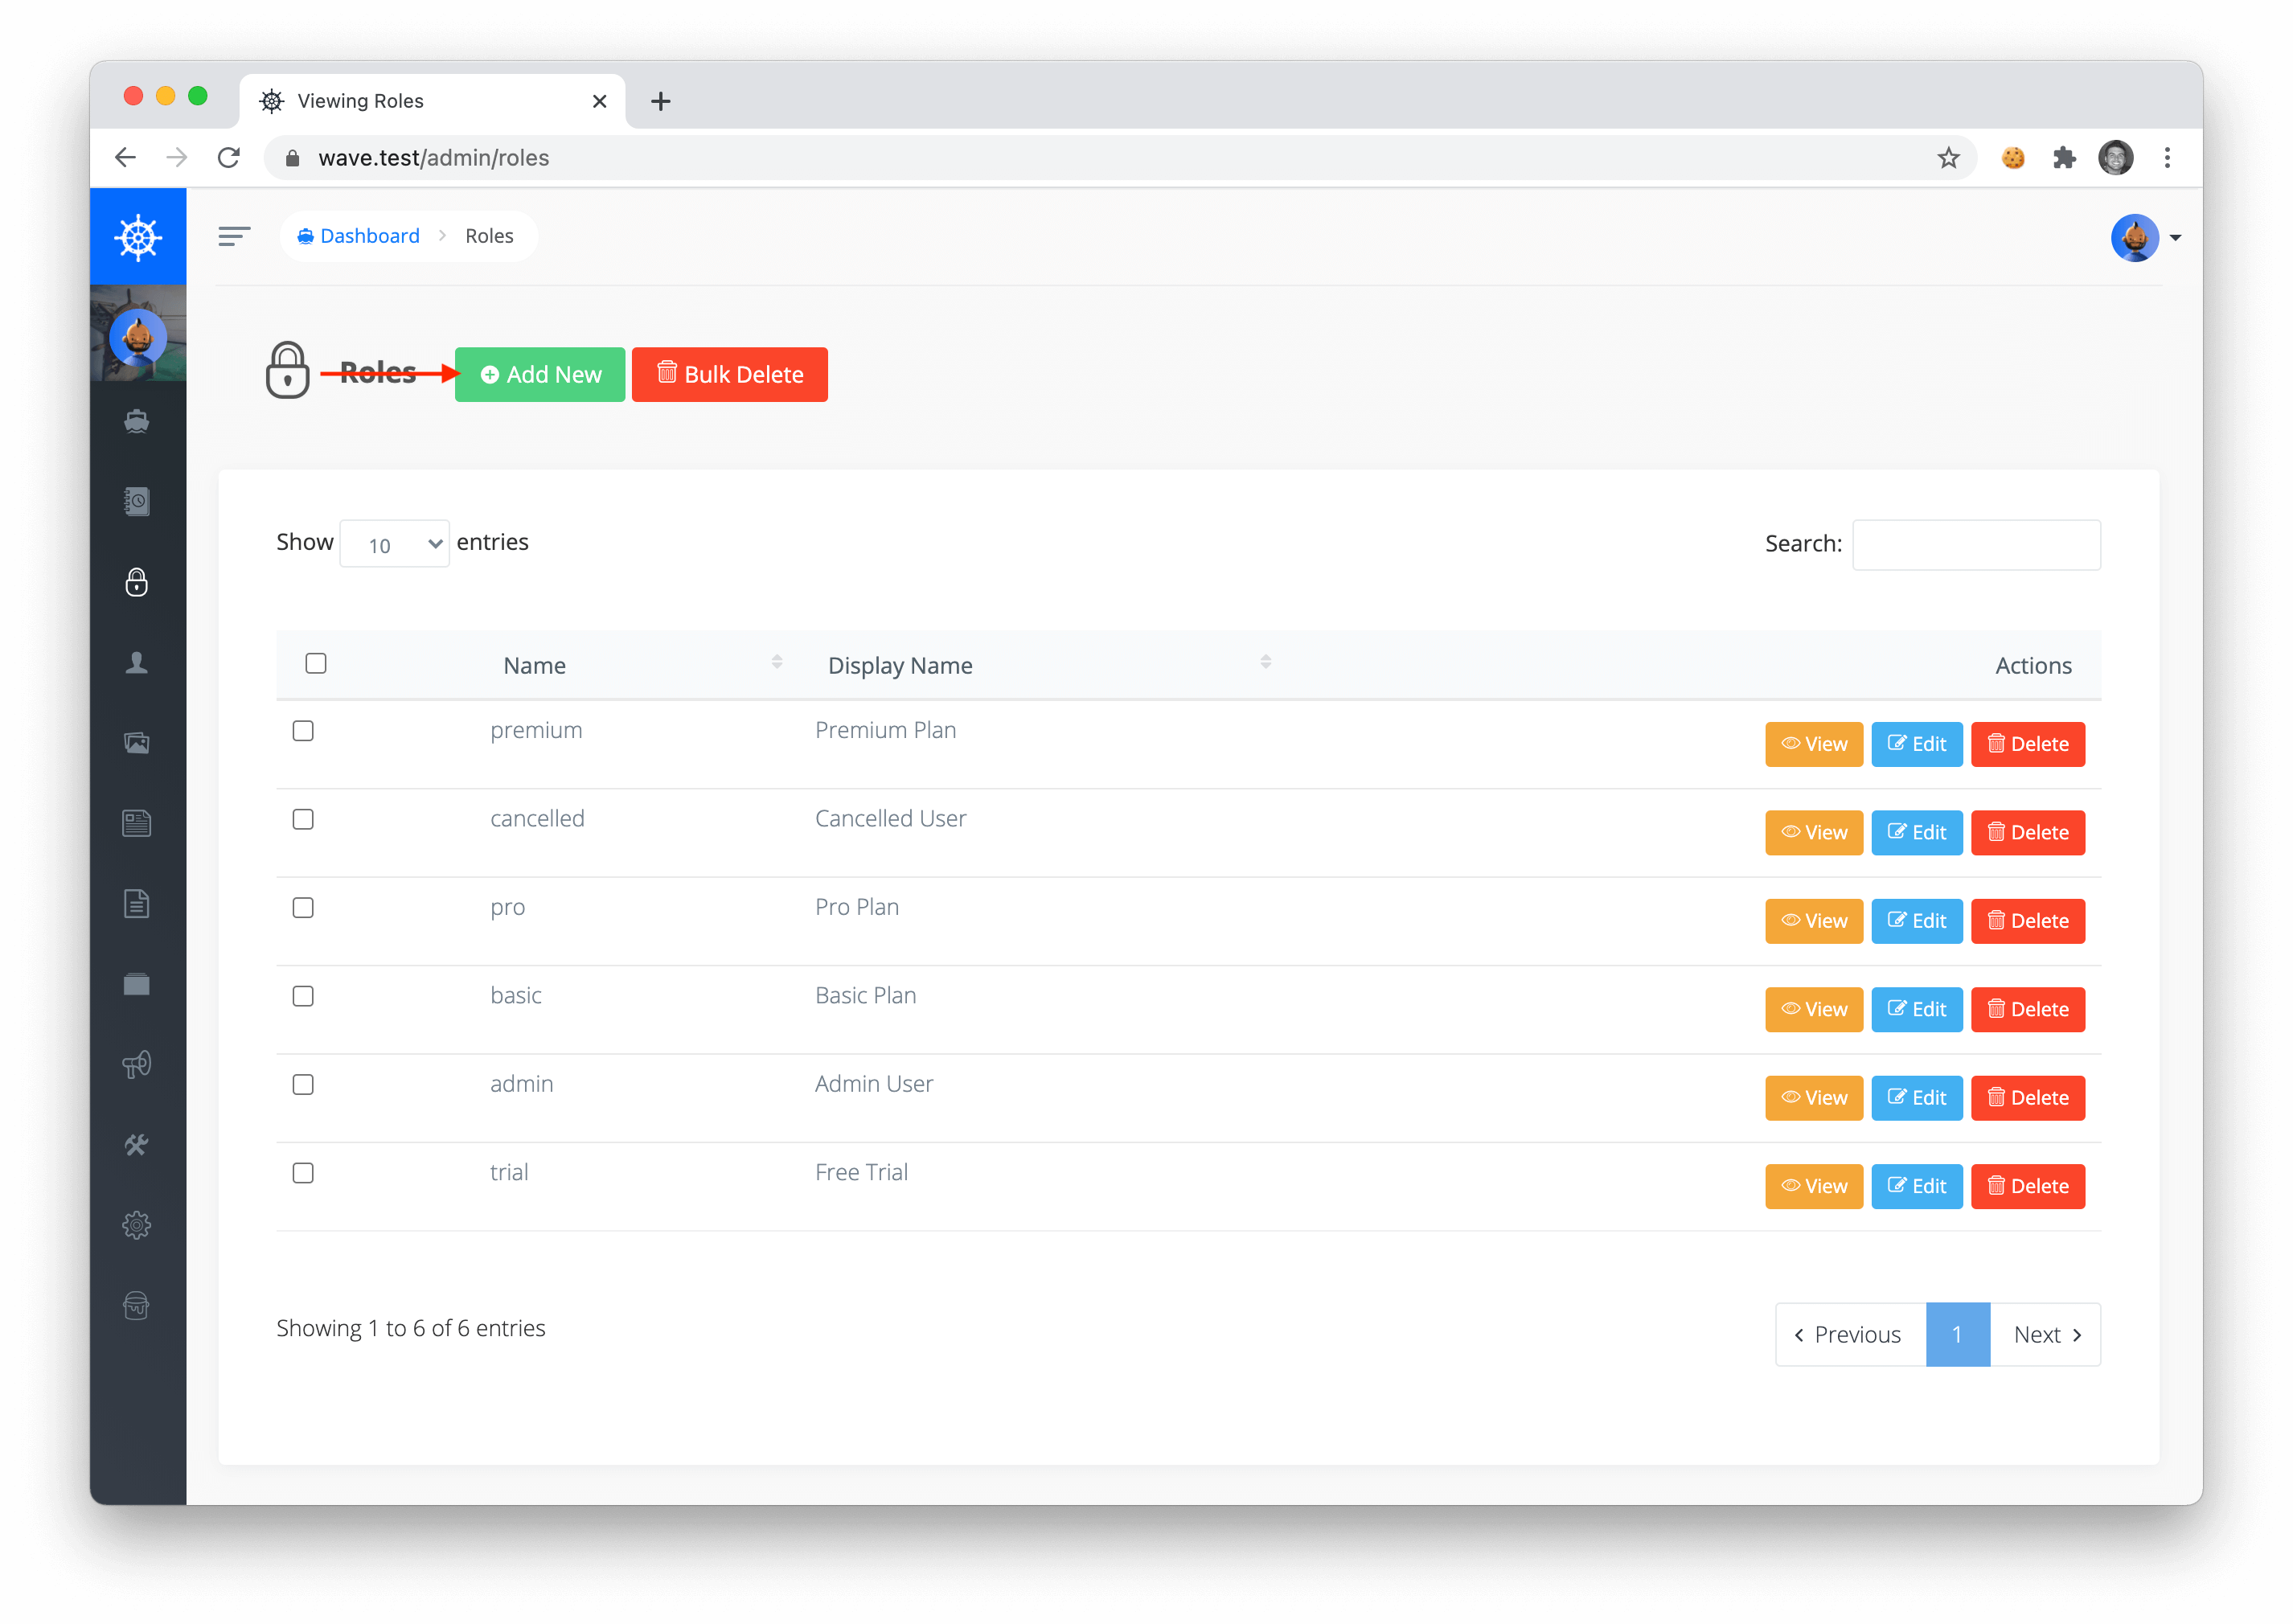
In your application you can view or add Roles in your application by visiting /admin/roles. To add a new role you can click on the Add New button:
You can give the role a name and then specify the BREAD permissions for all the content on your site.
Checking Permissions
Next if you would like to check for permissions you can use a few helpers. Here is how you can check user permissions from a user object.
// via user object
$canViewPost = $user->can('read', $post);
$canViewPost = Auth::user()->can('read', $post);

// via controller
$canViewPost = $this->authorize('read', $post);
You may also choose to use the Voyager facade and pass the permission as a string:
$canBrowsePost = Voyager::can('browse_posts');
$canViewPost = Voyager::can('read_posts');
$canEditPost = Voyager::can('edit_posts');
$canAddPost = Voyager::can('add_posts');
$canDeletePost = Voyager::can('delete_posts');
Lastly, you can use the blade syntax inside of your views to check whether a user can edit a particular post, like so:
@can('edit', $post)

    I can edit this post!

@endcan
You may also pass the Model to check for permissions:
@can('browse', new TCG\Voyager\Models\Post)

    I can browse posts!

@endcan
Be sure to note that the permission will be tied to the Model specified in the Voyager Bread section.
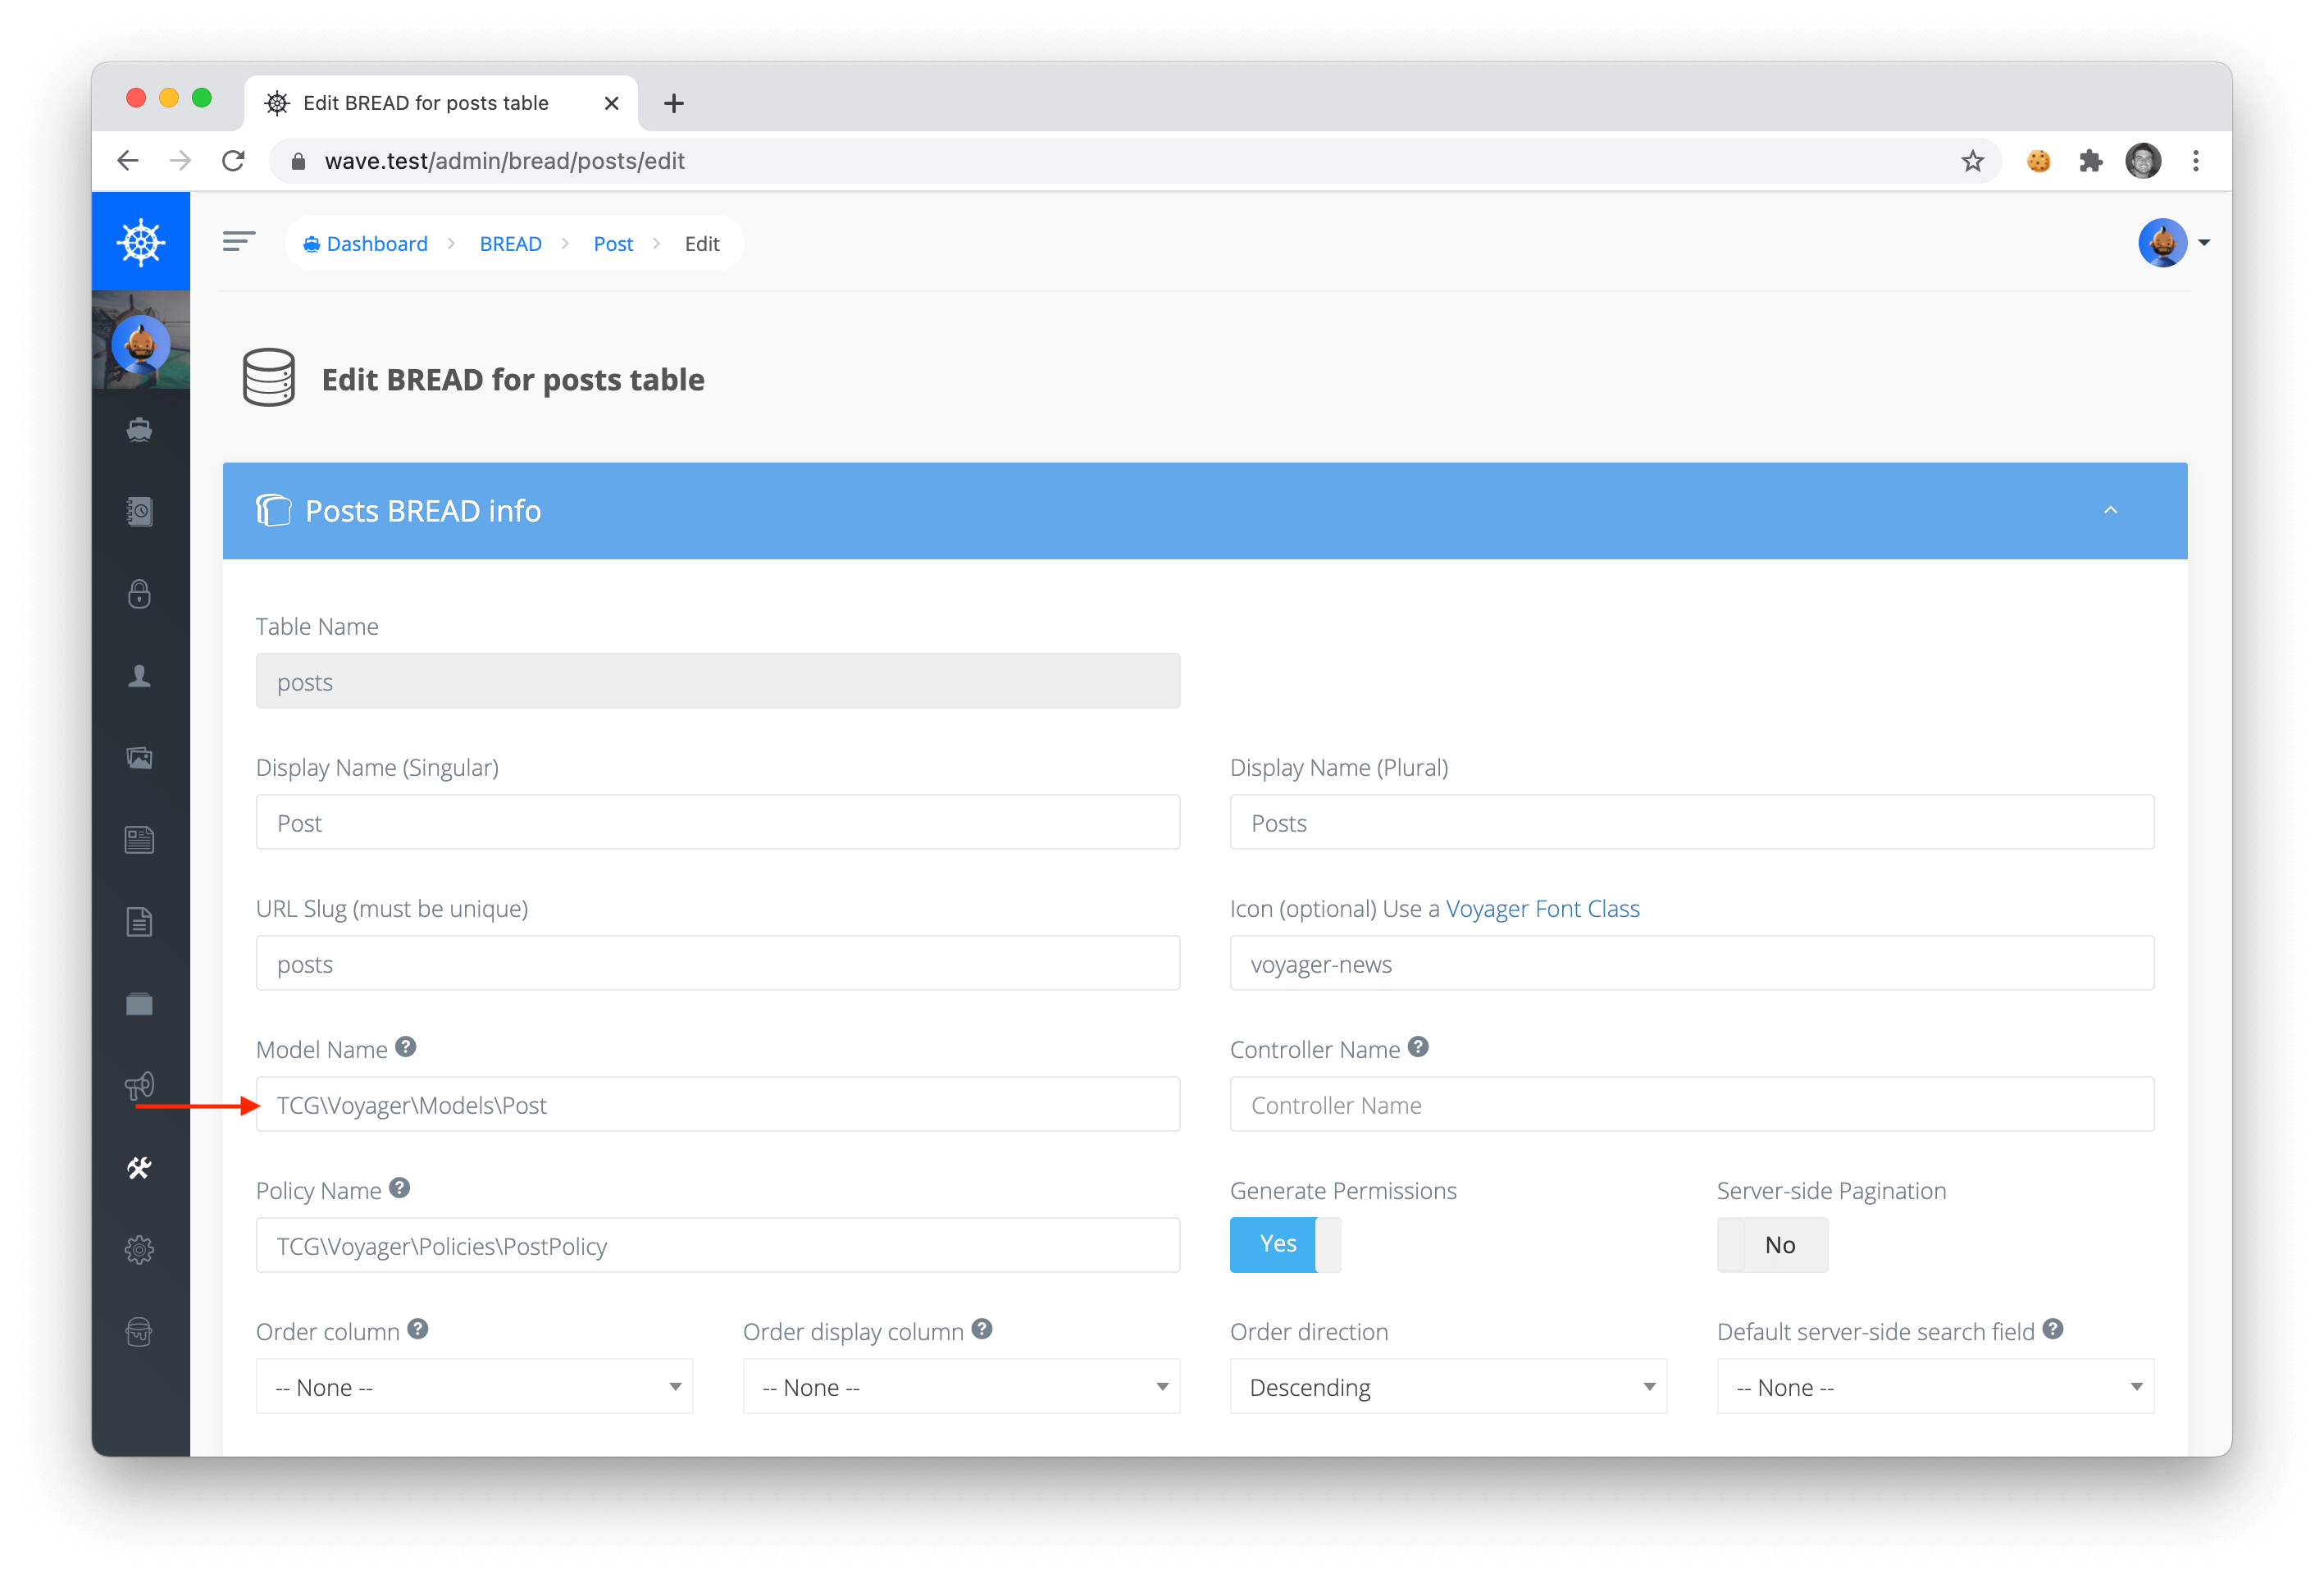
You can then choose to change the location of your model. For instance, you may want to create a new model inside of your app folder, and swap out the namespace with App\Post.
Ok, next let's move on to talking about notifications.